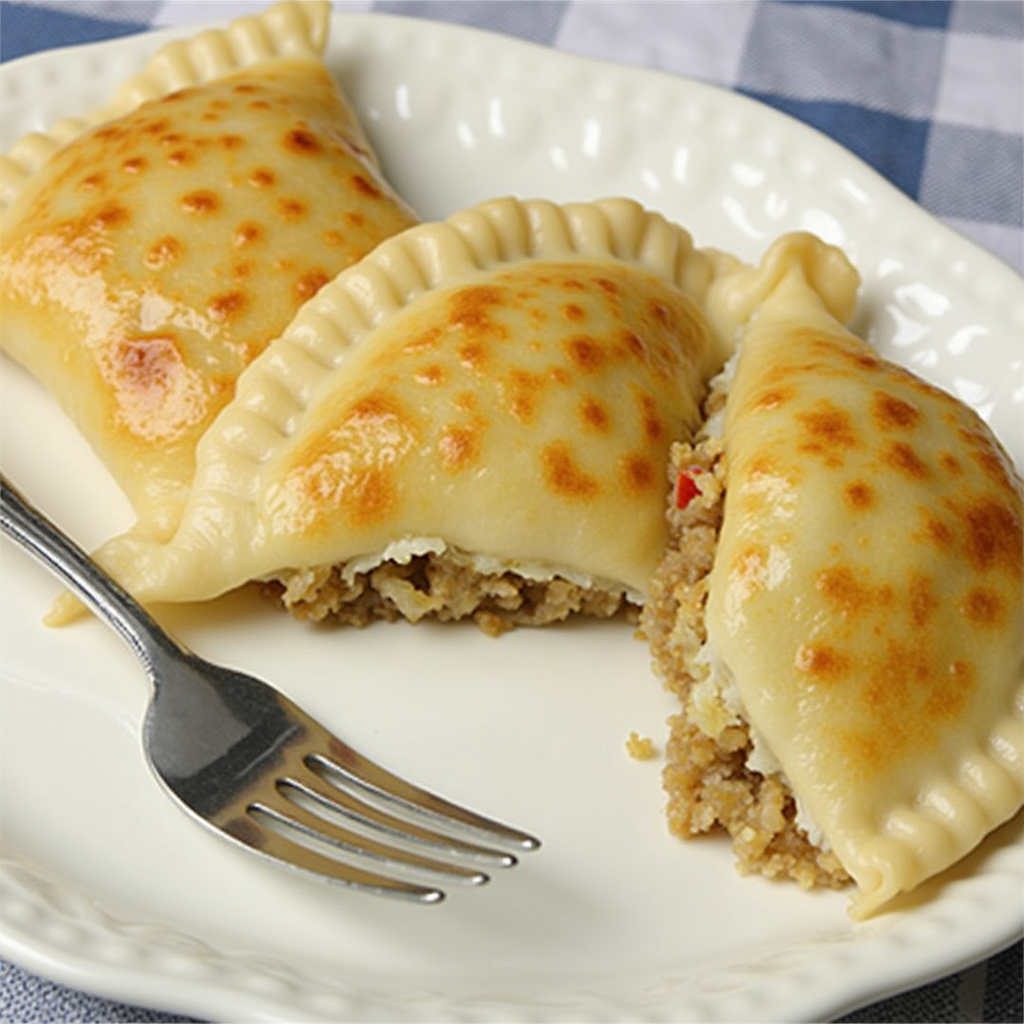
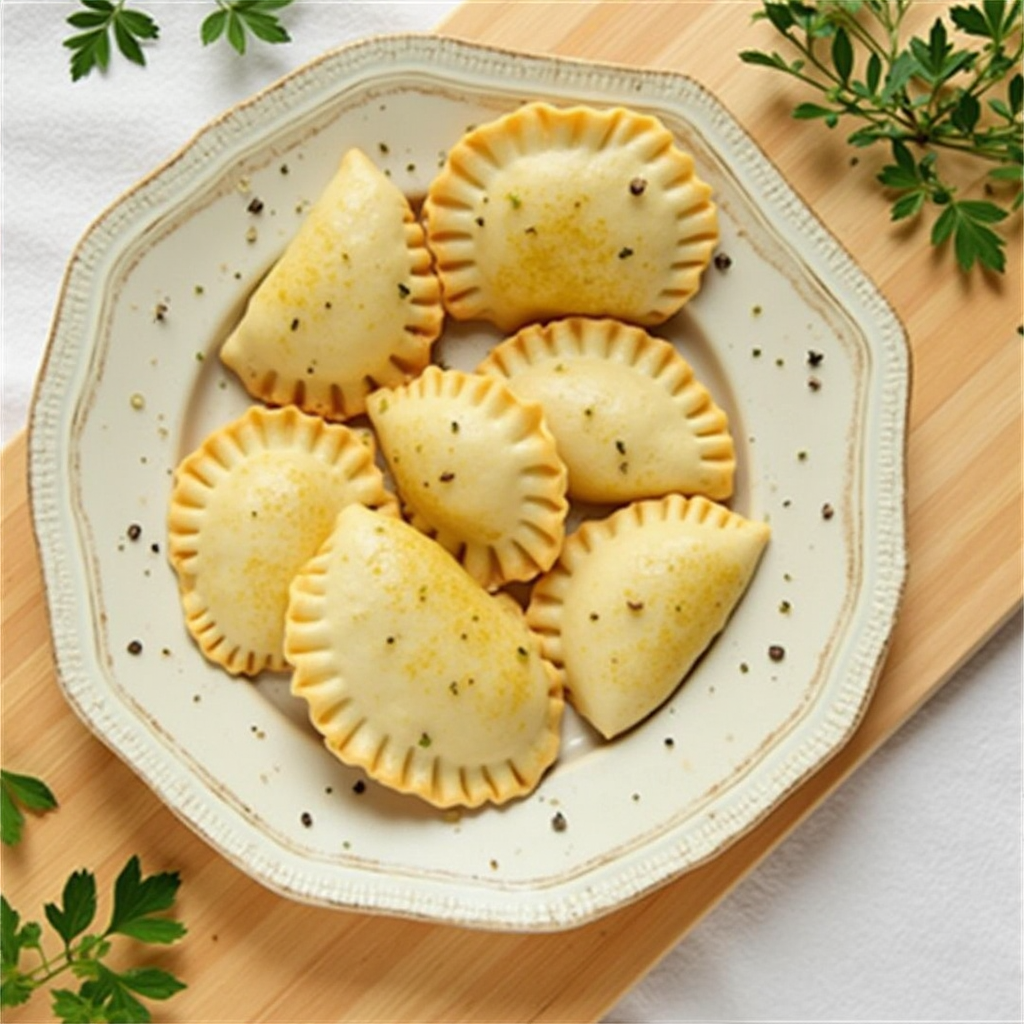
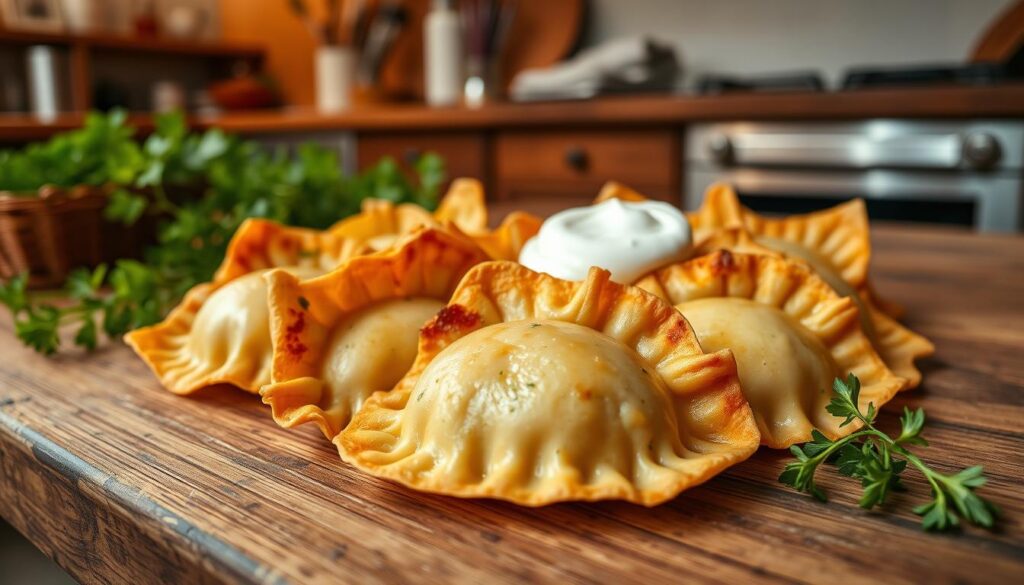
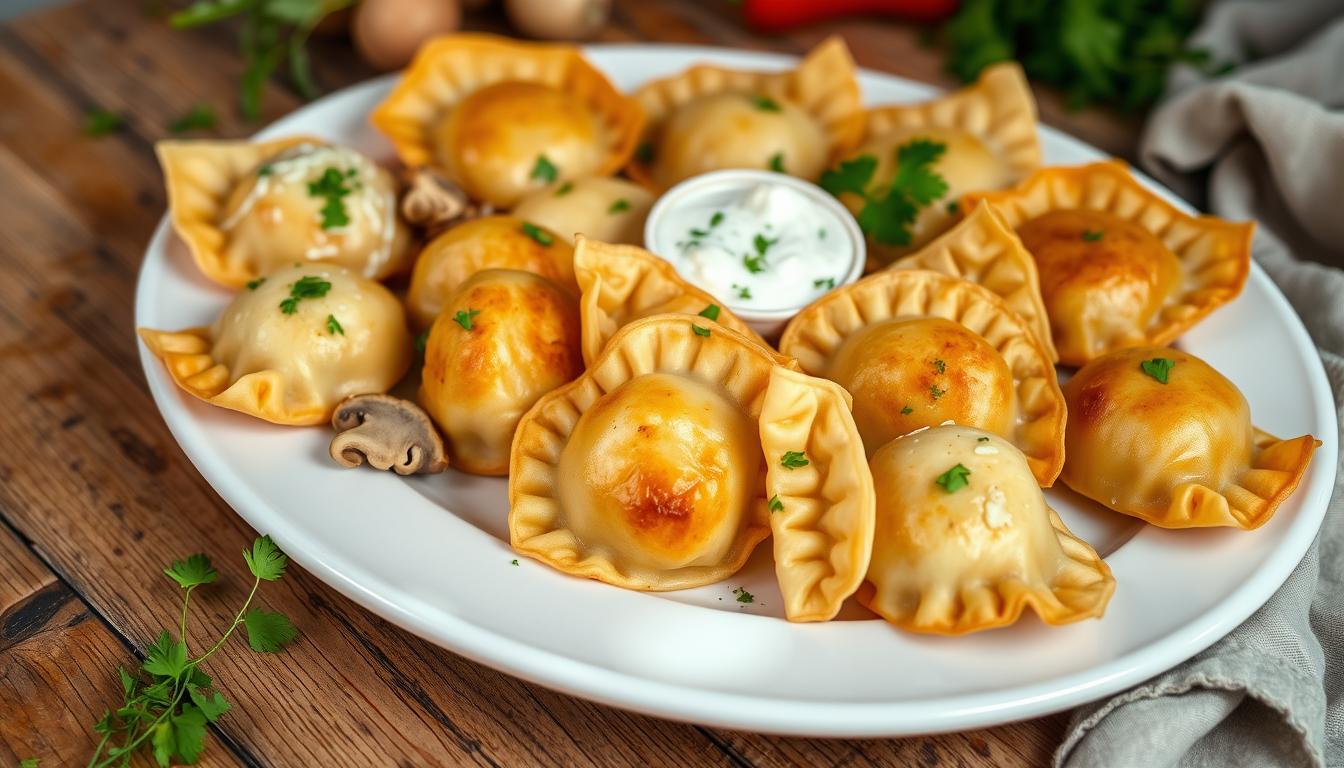
Are you a fan of gluten-free food looking for the taste of Polish pierogi? This guide will show you how to make authentic, tasty gluten-free pierogi at home. But what makes these dumplings special compared to regular ones? Let’s dive into the history and unique qualities of this Eastern European favorite.
Key Takeaways
- Discover the history and cultural significance of Polish pierogi, and how to recreate them with gluten-free ingredients.
- Understand the differences between traditional and gluten-free pierogi, and why making them at home is a rewarding experience.
- Explore a variety of filling options, from classic potato and cheese to dairy-free and vegan alternatives.
- Learn the essential tools and techniques for crafting the perfect gluten-free pierogi dough and achieving the desired texture and consistency.
- Uncover the best cooking methods, storage tips, and serving suggestions to elevate your gluten-free pierogi experience.
Understanding Gluten Free Pierogi and Their Origins
Pierogi, the beloved Polish dumplings, have long been a staple in traditional cuisines. But, for those following a gluten-free diet, the classic recipe poses a challenge. Fortunately, the culinary world has evolved, and now gluten-free pierogi offer a delectable alternative for those with dietary restrictions.
Traditional Polish Pierogi vs. Gluten-Free Versions
Traditional Polish pierogi are typically made with a wheat-based dough. This can be problematic for individuals with celiac disease or gluten intolerance. Gluten-free pierogi, on the other hand, use alternative flours like rice, tapioca, or almond flour. This creates a delightfully tender and pliable dough that is safe for those with gluten sensitivities.
Why Make Gluten-Free Pierogi at Home
Crafting your own celiac-friendly pierogi at home allows you to have complete control over the ingredients. This ensures that your dietary needs are met. By making them from scratch, you can experiment with various fillings and flavors. This creates a personalized dining experience that caters to your unique taste preferences.
Common Dietary Restrictions and Alternatives
In addition to being gluten-free, allergen-free pierogi can also accommodate other dietary restrictions. Vegetarian or vegan options, as well as dairy-free fillings, make these versatile dumplings suitable for a wide range of dietary needs.
| Dietary Restriction | Gluten-Free Pierogi Alternative |
|---|---|
| Gluten Intolerance | Rice, tapioca, or almond flour dough |
| Dairy Allergy | Dairy-free cheese or mashed potato filling |
| Vegetarian/Vegan | Mushroom, lentil, or vegetable-based fillings |
Embracing the diversity of Polish dumplings allows everyone to enjoy this beloved culinary tradition, regardless of their dietary needs.
Essential Ingredients for Perfect Gluten Free Pierogi
Making gluten-free pierogi is all about the right ingredients. Whether you’re making potato dumplings or vegan pierogi, knowing what to use is crucial. This ensures your pierogi taste amazing.
To make a dough that’s soft and easy to shape, you need certain flours. Use rice flour, tapioca flour, and potato starch. These flours help the dough feel like regular dough. You might also add xanthan gum or psyllium husk to keep the dough together.
For the filling, choose potatoes that are starchy and creamy. Yukon Gold or Russet potatoes work well. For a dairy-free version, use vegan cheese or add roasted cauliflower or mushrooms.
| Gluten-Free Pierogi Ingredients | Traditional Pierogi Ingredients |
|---|---|
|
|
Knowing the right ingredients for gluten-free pierogi helps you make tasty homemade dumplings. These can meet many dietary needs and tastes.
https://www.youtube.com/watch?v=KJwRT7ilHR8&pp=ygUQI2Rlc2VyYmV6Z2x1dGVudQ%3D%3DKitchen Tools and Equipment You’ll Need
Making tasty gluten-free pierogies needs the right tools in your kitchen. You’ll need essential utensils and some optional gadgets. The right setup makes the process easier and more fun. Let’s look at the must-haves and the extras that can make your gluten-free pierogi making better.
Must-Have Utensils and Appliances
- Rolling pin: Essential for rolling out the grain-free pierogi dough to the perfect thickness.
- Pierogi press or dumpling maker: Helps create uniform and well-sealed dumplings.
- Sharp knife or pizza cutter: For neatly cutting the dough into rounds or shapes.
- Saucepan or stock pot: For boiling the pierogies before pan-frying or serving.
- Skillet or non-stick pan: For pan-frying the cooked pierogies to a golden brown.
Optional Tools for Advanced Preparation
While the basics above will start you off, some optional tools can make things easier:
- Pasta maker or rolling machine: Helps achieve an even, thin dough.
- Filling piping bag: Allows for precise and tidy filling of the dumplings.
- Dough scraper or bench knife: Facilitates easy dough handling and transfer.
Storage Container Requirements
After making your gluten-free pierogies, you’ll need good storage to keep them fresh. Choose airtight, moisture-proof containers, like:
- Freezer-safe resealable bags or containers for long-term storage
- Refrigerator-safe containers for short-term storage of cooked pierogies
With the right tools and storage, you’re ready to make delicious gluten-free pierogies at home.
Making the Perfect Gluten-Free Pierogi Dough
Making the perfect gluten-free pierogi dough is key to delicious, allergen-free dumplings. Whether you’re using a gluten free pierogi recipe or making allergen-free pierogi, mastering dough-making is essential.
Success comes from the right mix of ingredients and kneading techniques. Start with gluten-free flours like rice, tapioca, and potato starch for the right texture. Add warm water, egg, and a bit of oil, kneading until smooth and pliable.
- Let the dough rest for at least 30 minutes, covered. This helps the flours absorb moisture, making the dough easier to work with.
- When you’re ready to roll, dust your surface with gluten-free flour to prevent sticking. Roll the dough to about 1/8 inch thickness.
- Use a circular cutter or sharp knife to cut the dough into rounds. These are now ready to be filled and sealed.
With practice and attention to detail, you’ll master the gluten free pierogi recipe. You’ll serve delicious, allergen-free pierogi that everyone can enjoy.


Preparing Traditional Potato and Cheese Filling
Making the perfect filling is key to delicious gluten-free pierogi. The classic potato and cheese filling is creamy and comforting. To make it, cook and mash potatoes, then mix with cheese like cheddar, Parmesan, or cottage cheese.
Dairy-Free Filling Options
If you have dairy allergies, there are great alternatives. Use mashed avocado, cashew-based “cheese,” or potatoes mixed with dairy-free milk for a tasty filling.
Seasoning and Spice Combinations
- Try herbs and spices to boost your pierogi filling’s flavor. Some great options are:
- Garlic, onion, and fresh dill
- Cajun seasoning or smoked paprika
- Roasted red peppers and Italian herbs
Alternative Filling Ideas
While the classic filling is loved, feel free to try new things. Here are some ideas:
- Sautéed mushrooms and caramelized onions
- Spicy black bean or lentil fillings
- Roasted vegetables like sweet potatoes or butternut squash
- Dairy-free pierogi with tofu or tempeh
| Filling Type | Ingredients | Dietary Considerations |
|---|---|---|
| Potato and Cheese | Mashed potatoes, cheddar or cottage cheese | Can be made dairy-free with plant-based cheese alternatives |
| Mushroom and Onion | Sautéed mushrooms, caramelized onions, herbs | Vegetarian, vegan-friendly |
| Black Bean | Mashed black beans, spices, diced onions | Vegan, gluten-free, allergy-friendly pierogi |
| Roasted Vegetable | Roasted sweet potatoes, butternut squash, bell peppers | Vegetarian, vegan-friendly |
These filling options let you make a variety of tasty and dairy-free pierogi. They suit many diets and tastes.
Step-by-Step Assembly Instructions
Making the perfect gluten free pierogi is an art. The assembly process is key. Follow these steps to make sure your gluten-free dumplings are flawless every time.
- Prepare your work surface by lightly dusting it with gluten-free flour. This prevents the dough from sticking as you assemble the pierogi.
- Take a small portion of the dough and roll it out into a thin sheet, about 1/8 inch thick. Use a round cookie cutter or a glass to cut out circular shapes.
- Place a small spoonful of your desired filling in the center of each dough round. Be careful not to overfill, as this can cause the pierogi to burst during cooking.
- Fold the dough in half to create a half-moon shape, and use your fingers to gently press and seal the edges. Make sure there are no air pockets trapped inside.
- Use a fork to crimp and seal the edges, creating a decorative pattern. This helps prevent the pierogi from opening during cooking.
- Arrange the assembled pierogi on a lightly floured baking sheet or parchment-lined surface, making sure they don’t touch each other.
With these step-by-step instructions, you’ll be able to create perfectly shaped and sealed gluten free pierogi every time. Remember, attention to detail is key for achieving the best results.
“The secret to making delicious gluten-free dumplings is in the precision of the assembly process. Follow these steps, and you’ll have a plate of perfectly formed pierogi that are sure to impress.”
Cooking Methods and Techniques
Improving your gluten-free pierogi experience is more than just the dough and fillings. It’s about the cooking method too. Whether you like boiling or pan-frying, getting it right can make a big difference.
Boiling vs. Pan-Frying
Boiling is the traditional way to cook Polish dumplings, including gluten-free pierogi. By gently adding the pierogi to simmering water, they cook evenly. This keeps their texture soft and delicate.
For a richer taste, try pan-frying the boiled pierogi in oil or butter. This method gives them a golden-brown outside and crispy edges.
Proper Temperature and Timing
- Boiling: Start by boiling a large pot of salted water at a gentle simmer. Add the pierogi carefully and cook for 5-7 minutes. They should float to the surface.
- Pan-Frying: Heat a skillet over medium-high with a tablespoon of oil or butter. Cook the boiled pierogi for 2-3 minutes on each side until they’re golden brown.
Getting the perfect texture for your gluten-free pierogi is about finding the right balance. Try different cooking methods and times to find what works best for you. This will take your gluten-free dumplings to a whole new level.
Storage Tips and Freezing Guidelines
Keeping your homemade gluten-free pierogies fresh is easy with the right storage. Whether you’re eating them soon or saving them, proper storage is crucial. It helps keep their taste and texture perfect.
Short-Term Storage
For eating right away, store your gluten-free pierogies in the fridge in an airtight container. They stay soft and fresh for 3-4 days. Make sure to separate them with parchment paper or gluten-free flour to avoid sticking.
Freezing Gluten-Free Pierogies
Freezing is the best way to enjoy your pierogies for months. Place uncooked pierogies on a baking sheet and freeze them. Then, put them in an airtight container or freezer bag. This keeps them from sticking together.
Freezing them for up to 3 months is possible. When you’re ready to eat them, just boil or fry them without thawing. This keeps the dough soft and the fillings fresh.

Table of Contents
With these easy storage and freezing tips, you can enjoy homemade gluten-free pierogies anytime. They’ll always taste great and stay fresh!
Serving Suggestions and Traditional Accompaniments
Gluten-free pierogi, whether classic potato and cheese or vegan, deserve to shine. Discover ways to serve and pair them to enhance your dining experience.
Classic Toppings and Garnishes
Every pierogi dish needs classic toppings and garnishes. Sour cream, caramelized onions, and fresh dill are favorites that match the dumplings’ softness. Add crispy bacon bits or toasted breadcrumbs for extra flavor and texture.
Modern Serving Ideas
Don’t shy away from new ideas for serving pierogi. Try them with sautéed mushrooms and spinach, or a beet and arugula salad. For a unique touch, pair vegan pierogi with spicy chili or a tangy yogurt sauce.
| Traditional Toppings | Modern Serving Ideas |
|---|---|
|
|
“The beauty of gluten-free pierogi is that they can be customized to suit any taste or dietary preference. The options are endless when it comes to serving and garnishing these delightful potato dumplings.”
Conclusion
In this guide, you’ve learned how to make tasty gluten free pierogi at home. You now know the history of this Polish dish and how to make the dough and fillings gluten-free. You’re ready to make allergy-friendly pierogi that are as good as homemade.
Making your own gluten free pierogi lets you try new flavors and techniques. Feel free to add your own twist to the recipe. Try new fillings or garnishes. The more you make, the better you’ll get.
Whether you need to follow a diet or just want a homemade treat, this gluten free pierogi recipe is a great find. Enjoy making these delicious dumplings and share them with loved ones. You’ve learned to make allergy-friendly pierogi from scratch.

